In this example, you will learn how to use RIDE in Selenium Robot Framework Python test automation.
Test Case: authorized users are able to login Mahara Demo site. Here are test steps.
1. Navigate to demo.mahara.org and verify that web page title "Home-Mahara" displays.
2. Enter "student2" in the Username filed.
3. Enter "Testing1" in the Password field.
4. Click on the Login button
5. Assert that Dashboard Title is "Dashboard - Mahara".
Note: if the above username and password do not work, try registering one and
use your own user account for testing because the demo user password may have
been changed by others.

Step 3: in the navigation window, Right Click and choose "New Directory" and enter "LoginModuleTest".

Step 6: click on the "Run" tab and execute the test case "LoginTest".

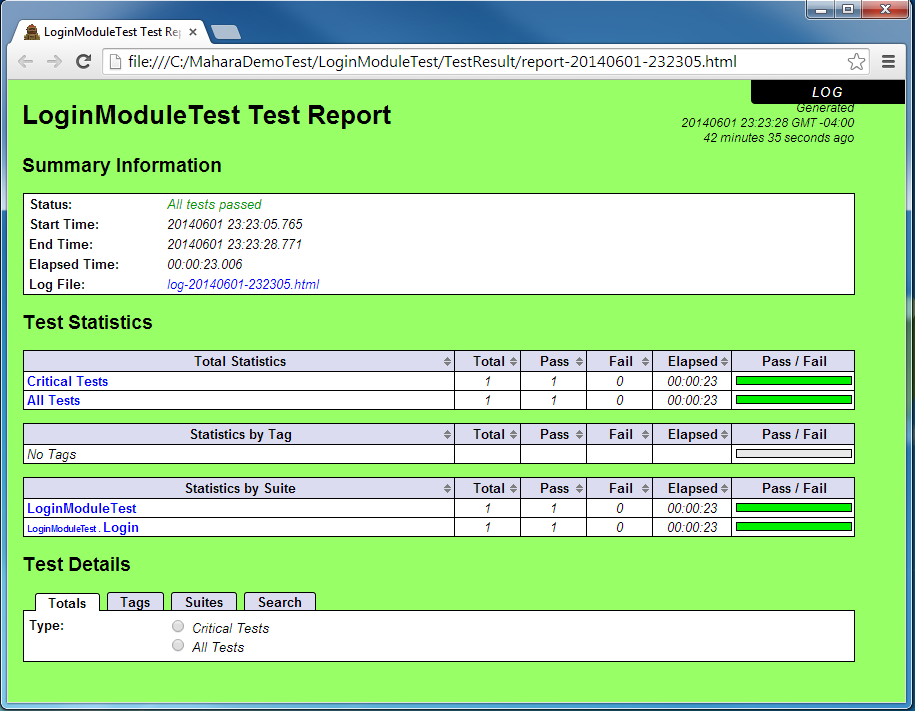
Step 7: check the log file "C:\MaharaDemoTest\LoginModuleTest\TestResult\log-20140601-232305.html" and result file "C:\MaharaDemoTest\LoginModuleTest\TestResult\report-20140601-232305.html". The result indicates that test passed. If test fails, the background will be Red. Click on the file links to see the result file in html format.

Test Case: authorized users are able to login Mahara Demo site. Here are test steps.
1. Navigate to demo.mahara.org and verify that web page title "Home-Mahara" displays.
2. Enter "student2" in the Username filed.
3. Enter "Testing1" in the Password field.
4. Click on the Login button
5. Assert that Dashboard Title is "Dashboard - Mahara".
Note: if the above username and password do not work, try registering one and
use your own user account for testing because the demo user password may have
been changed by others.
Selenium Python Robot Framework Implementation
Step 1: open command
window as administrator and launch RIDE with the command "ride.py".
RIDE window will display. Please remember that do not close the command
window, or else RIDE will be closed.
Step 2: under File menu,
click on "New Project", enter project Name and select a Parent Directory
as shown below. Please note that you need to create "C:\MaharaDemoTest"
folder in advance.

Step 3: in the navigation window, Right Click and choose "New Directory" and enter "LoginModuleTest".

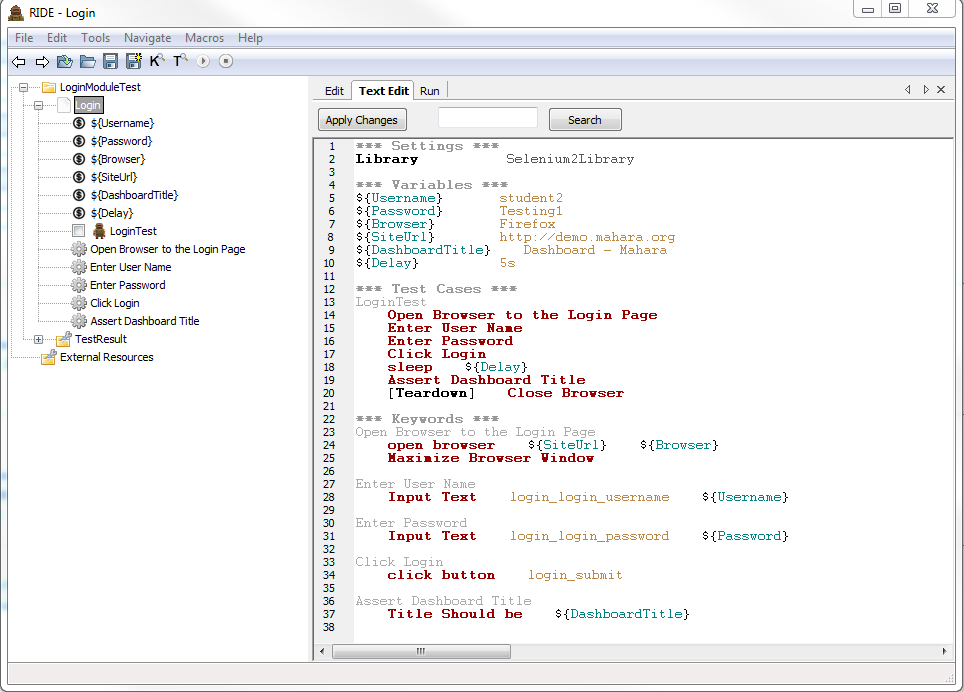
Step 4: right click on the "LoginModuleTest" and select "New Suite". Enter "Login" in the suite name field.
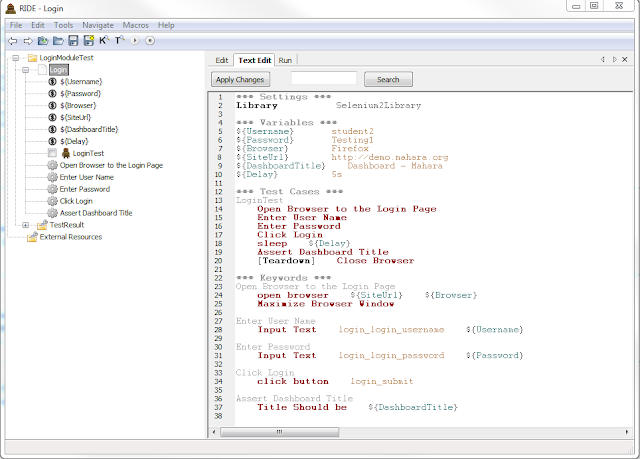
Step 5: click on the "Login" test suite and enter the following keywords and test case in the "Text Edit" window.
*** Settings ***
Library           Selenium2Library

*** Variables ***
${Username}       student2
${Password}       Testing1
${Browser}        Firefox
${SiteUrl}        http://demo.mahara.org
${DashboardTitle}    Dashboard - Mahara
${Delay}          5s

*** Test Cases ***
LoginTest
    Open Browser to the Login Page
    Enter User Name
    Enter Password
    Click Login
    sleep    ${Delay}
    Assert Dashboard Title
    [Teardown]    Close Browser

*** Keywords ***
Open Browser to the Login Page
    open browser    ${SiteUrl}    ${Browser}
    Maximize Browser Window

Enter User Name
    Input Text    login_login_username    ${Username}

Enter Password
    Input Text    login_login_password    ${Password}

Click Login
    click button    login_submit

Assert Dashboard Title
    Title Should be    ${DashboardTitle}
After you enter all the above information, the screen looks like this below.

Step 7: check the log file "C:\MaharaDemoTest\LoginModuleTest\TestResult\log-20140601-232305.html" and result file "C:\MaharaDemoTest\LoginModuleTest\TestResult\report-20140601-232305.html". The result indicates that test passed. If test fails, the background will be Red. Click on the file links to see the result file in html format.


